February 27, 2026
By Marty Street | February 27, 2026
We will walk you through the essential steps to successfully prepare for shower glass door installation. Whether you're a DIY enthusiast or hiring a professional, understanding these key preparatory steps will ensure a smooth and efficient installation process.
1. Assessing Your Bathroom Layout
Accurate measurements are crucial for ensuring that your new shower glass doors fit perfectly. Begin by measuring the width and height of the shower entryway, taking note of different dimensions if the opening is uneven. It's important to double-check your measurements to avoid any costly mistakes during installation. Consider using a laser level to ensure precise leveling, which will contribute to a snug fit. Remember, a well-measured space minimizes installation time and potential issues, giving you peace of mind.
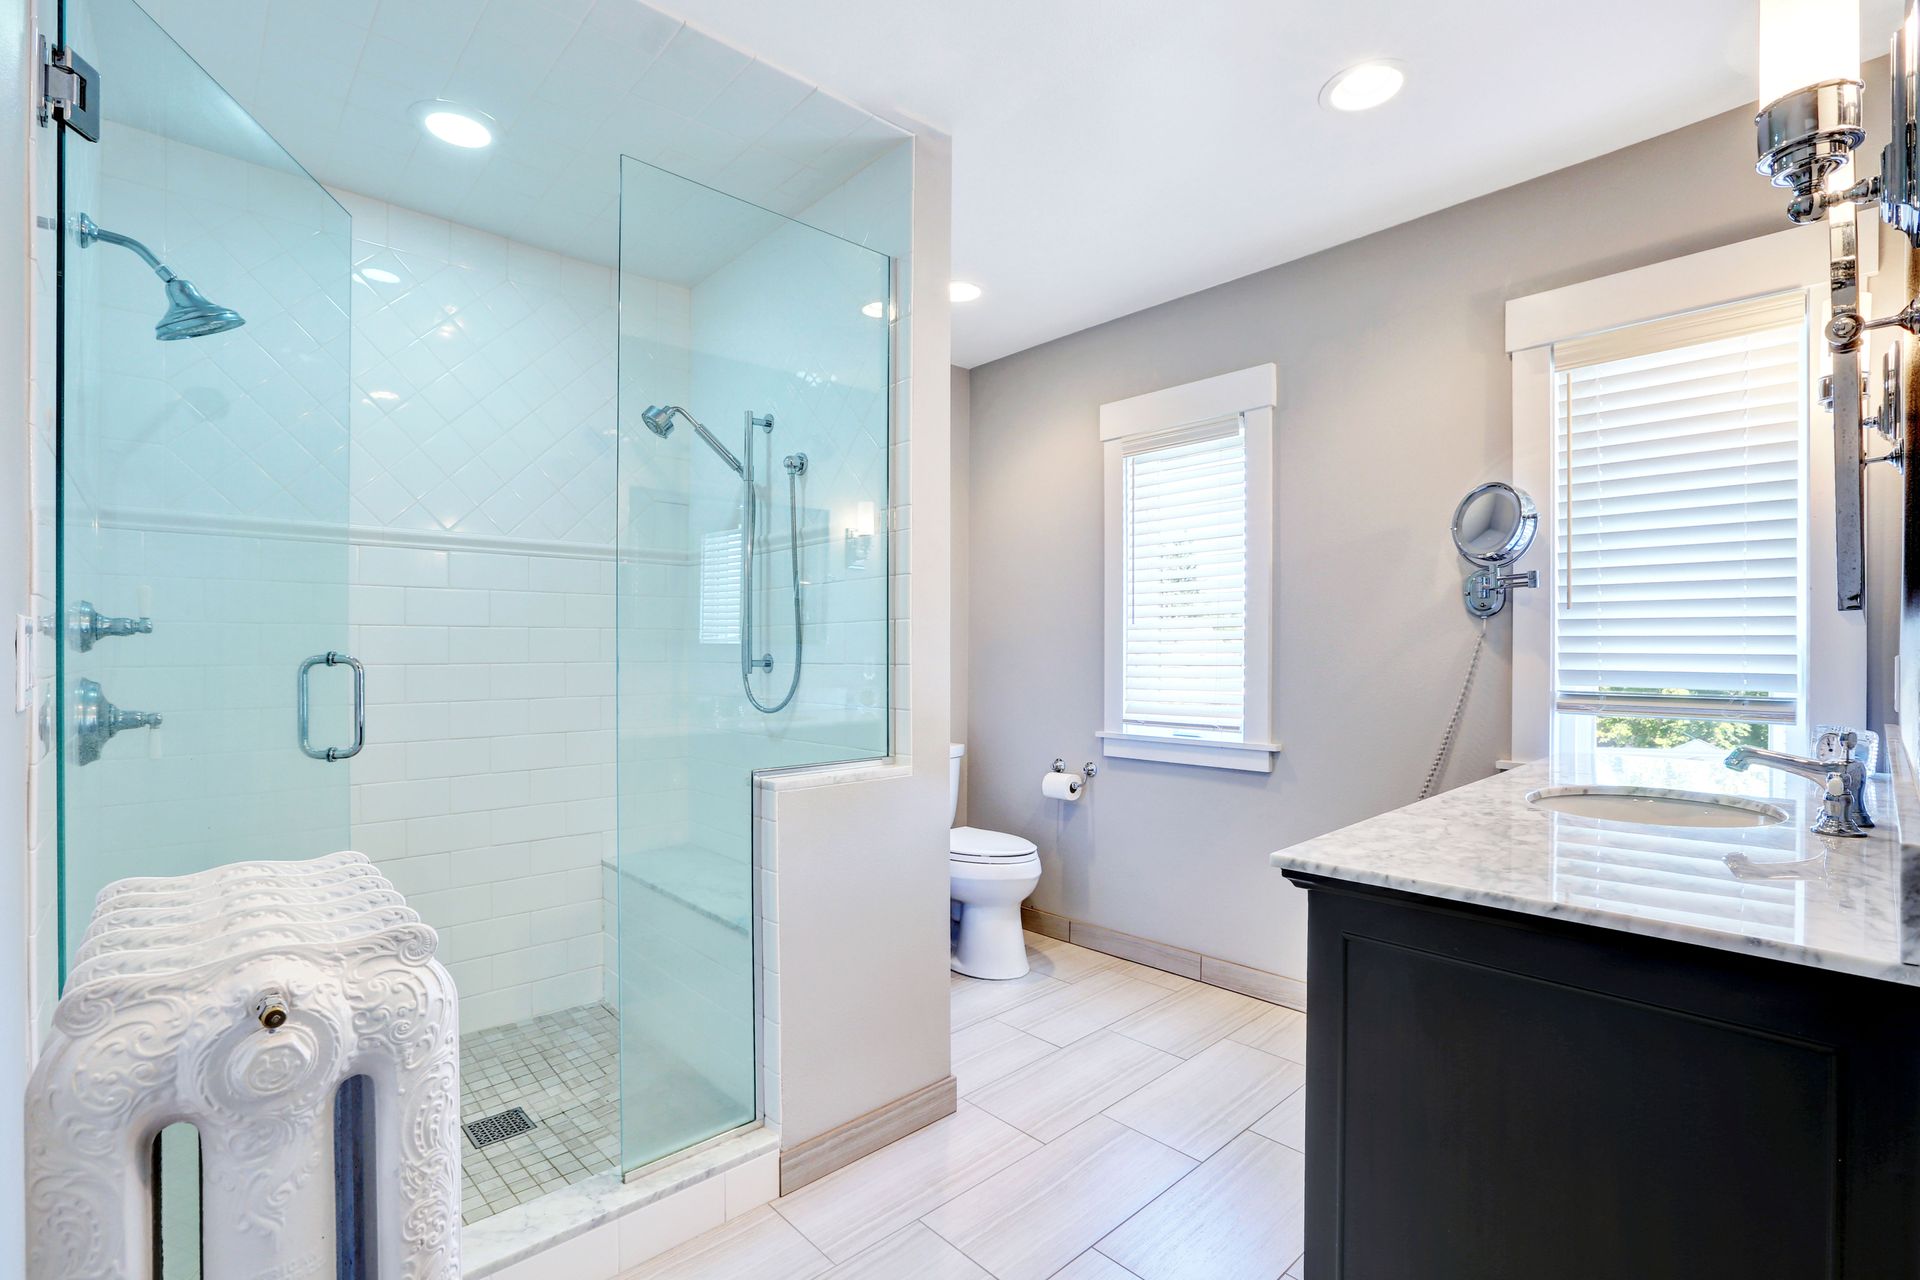
When preparing for installation, it's essential to identify existing plumbing and fixtures that might interfere with the glass doors. Pay special attention to the showerhead, handles, and any protruding elements that could obstruct the door's movement. Understanding their placement will allow you to plan adequately and avoid costly modifications. Ensure that the installation process doesn't compromise plumbing access, which could incur further expenses down the line. This careful evaluation guarantees a seamless integration of the new glass doors with the current setup.
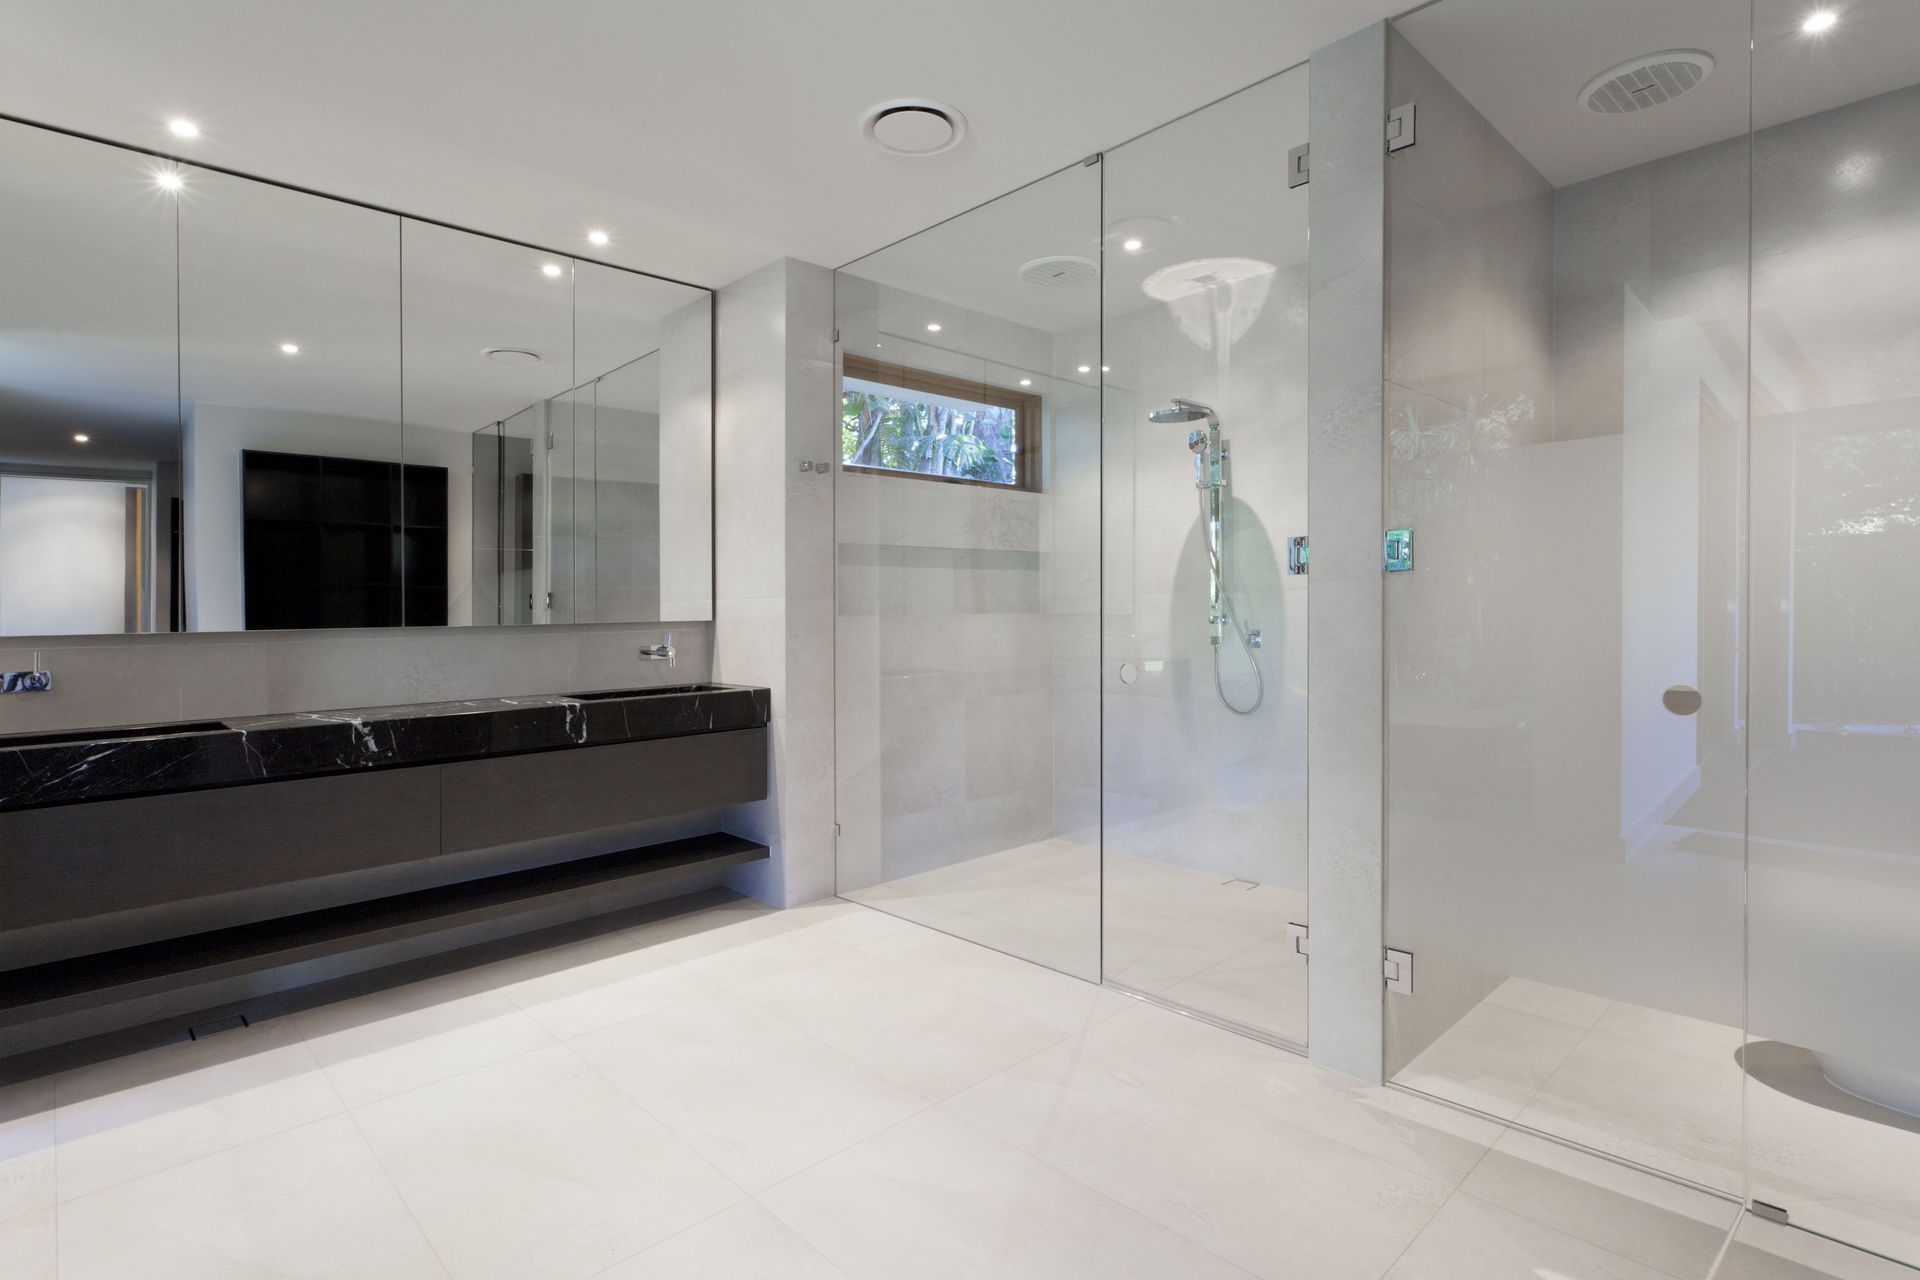
Consider how your new shower glass doors will blend with your existing bathroom style and design. Whether your bathroom exudes a modern or traditional vibe, select glass doors that complement the aesthetic. Think about the color scheme, texture, and materials present in your bathroom to ensure a cohesive look. Additionally, matching the glass doors with existing fixtures can elevate the overall ambiance. By paying attention to these design elements, you achieve both functionality and visual appeal.
2. Choosing the Right Shower Glass Doors
Glass thickness is a critical factor when selecting shower doors, as it influences both appearance and durability. Thicker glass, typically ranging from 3/8 to 1/2 inches, provides a sturdier, luxurious feel, while thinner glass may be more budget-friendly. Evaluate the pros and cons of each thickness level, considering factors such as safety and aesthetic preference. Remember, according to Fixr, thicker glass doors can also impact installation duration, with larger installations potentially taking up to 8 hours. Therefore, balancing budget considerations with practical needs ensures an ideal glass choice.
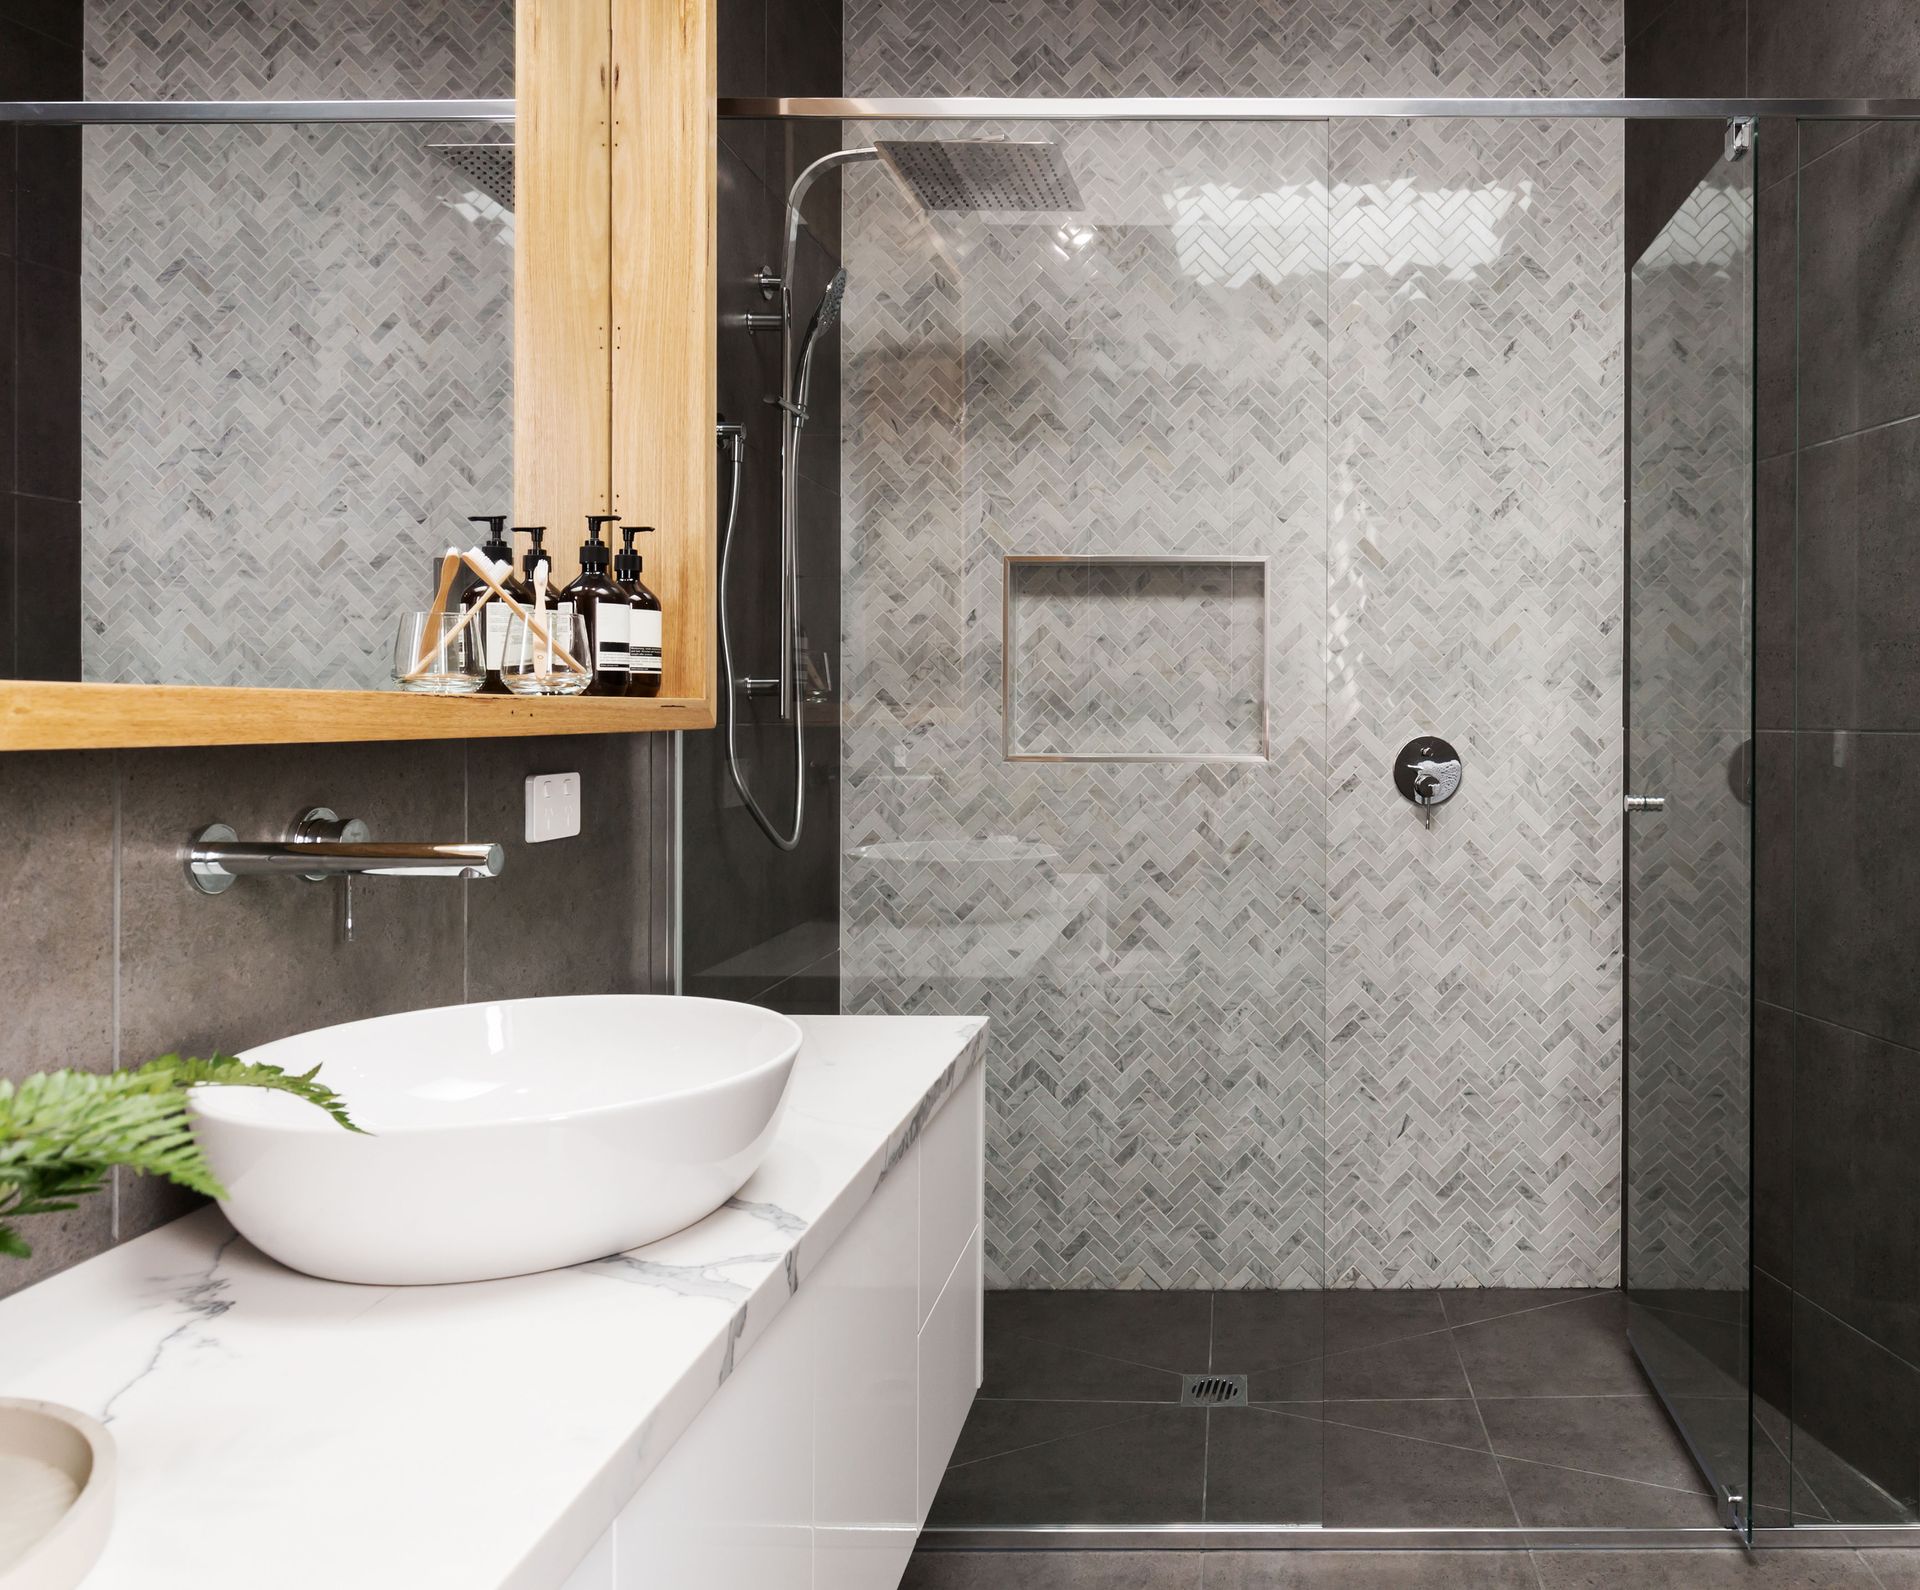
Explore the variety of glass types and finishes available to achieve your desired balance between privacy and aesthetics. Options include clear, frosted, tinted, and patterned glass, each offering unique benefits and visual appeal. While clear glass provides an open and modern look, frosted or patterned finishes add a layer of privacy. Additionally, selecting a finish that resists water stains and smudges will facilitate easier maintenance. By thoughtfully considering your choices, you elevate both the functionality and style of your shower space.
The selection of hardware and fittings plays a significant role in the overall look and functionality of the shower doors. Choose handles, hinges, and other fittings that complement your bathroom's design theme, whether contemporary, vintage, or minimalist. It's important to select high-quality materials, such as stainless steel or brass, for durability and resistance to moisture. Consider finishes such as chrome or brushed nickel to match existing fixtures for a cohesive appearance. Prioritizing robust hardware ensures longevity and aesthetic harmony for your shower doors.
3. Preparing the Installation Site
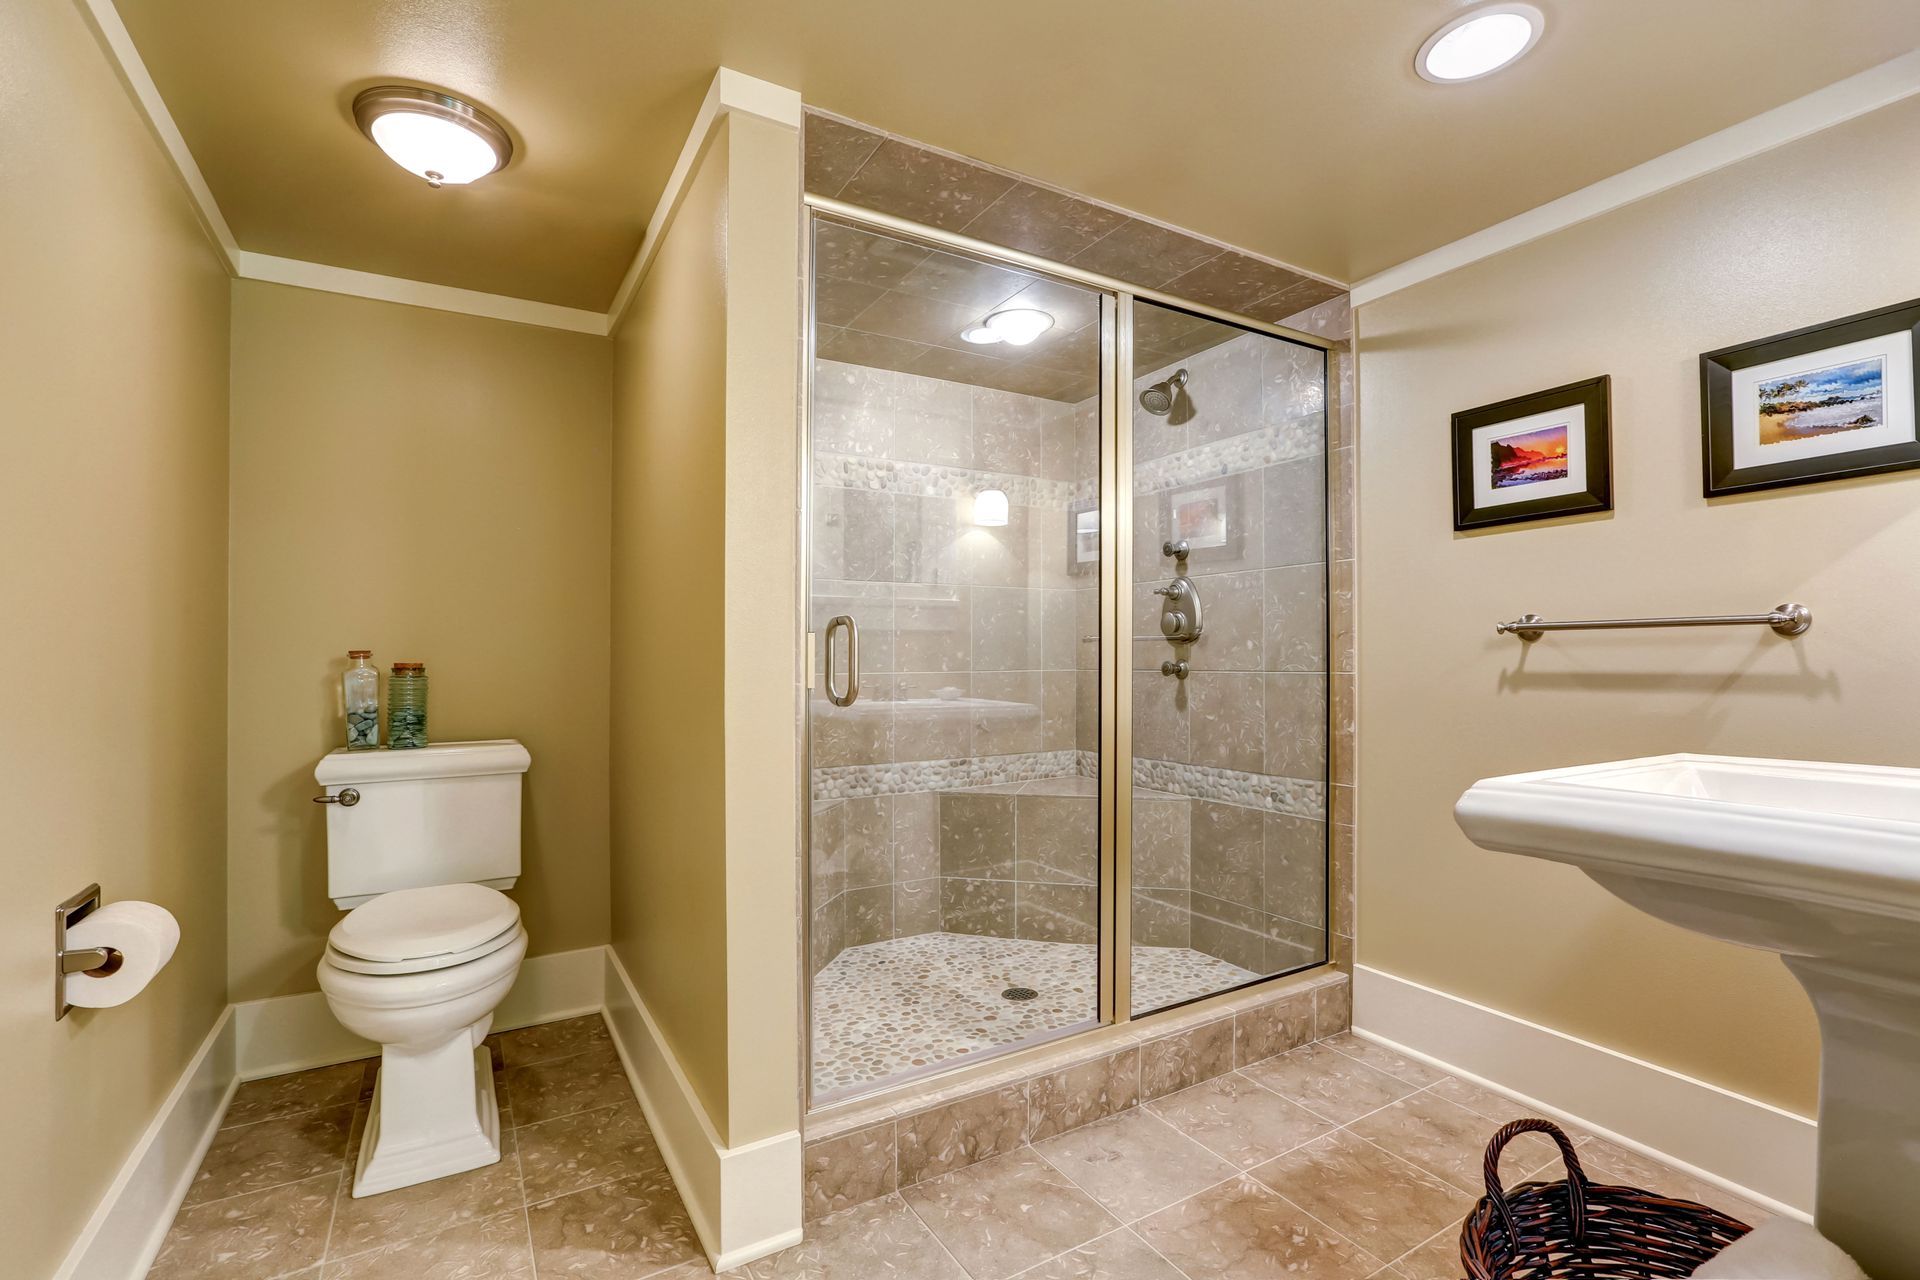
A clear installation site is essential to prevent any obstructions or hazards during the shower door installation. Begin by removing all personal items, such as toiletries and decor, to create an open workspace. Next, ensure that the shower itself is free from any debris, dirt, or buildup that might hinder the installation process. Finally, remove any temporary fixtures or accessories that could impede the door's path or the installer's work. A clean and organized space facilitates an efficient installation process.
It's crucial to protect your surrounding fixtures, such as tiles, sinks, and bathtubs, from potential damage during the installation. Use protective materials like drop cloths, painter's tape, or padding to shield sensitive surfaces from scratches or debris. Consider employing plastic sheeting to cover nearby areas and prevent dust accumulation. Taking these precautions not only safeguards your bathroom fixtures but also minimizes clean-up time after the glass door installation. Careful preparation ensures a seamless transition with minimal disturbance.
Ensure all surfaces within and around the shower area are clean and dry to promote optimal adhesion and stability during installation. Clean any surfaces where adhesive materials or seals will be applied, removing soap scum, mildew, or grime. Use a powerful cleaning solution to guarantee an immaculate surface that will enhance the durability of the installation. Additionally, allow all areas to dry thoroughly, either through natural ventilation or external heat, to eradicate any residual moisture. A pristine, dry surface aids in a secure and lasting attachment of glass doors.
4. Understanding Safety Considerations
Recognizing potential hazards associated with shower glass door installation is vital for ensuring a safe working environment. Glass panels are heavy and can pose a significant risk if not handled correctly. Explore common safety concerns, such as cutting hazards from sharp edges and the risk of breakage. By acknowledging these risks, you can take steps to safeguard yourself and any helpers involved in the installation. Addressing potential hazards proactively prevents accidents and promotes a secure installation setting.
The use of proper safety equipment is paramount to protecting against injuries during the installation of shower glass doors. Safety goggles, gloves, and sturdy footwear should be worn to minimize the risk of cuts, eye injuries, or foot damage. Additionally, wearing a dust mask can prevent inhalation of particles or dust generated during drilling or cutting processes. Furthermore, having a first-aid kit on hand is wise for handling minor injuries promptly. By adhering to safety protocols and utilizing appropriate gear, you enhance the safety of the installation process.
Handling glass panels safely reduces the chance of injury and ensures the integrity of the shower doors. Employ proper lifting techniques, such as bending at the knees and maintaining a straight back, to avoid strain. Use specialized glass-handling tools or suction grips to provide added control and grip security when moving panels. If the panels are too large or heavy to manage alone, enlist the assistance of another person to share the load safely. Implementing these practices minimizes risks and facilitates a smooth installation process.
5. Installation Process Overview
Proper preparation for the installation day is essential to completing the glass door installation efficiently and successfully. Begin by conducting final checks to confirm that all necessary tools, materials, and equipment are on hand. Review your measurements once more to ensure they match the specifications outlined in the installation instructions. Clear your schedule for the day to minimize interruptions, as most shower doors require 2 to 4 hours for installation, with larger enclosures potentially taking up to 8 hours, according to Fixr. Thorough preparation streamlines the installation process, reducing stress and ensuring a high-quality outcome.
Correctly setting up the door frame sets the foundation for the entire installation. Begin by positioning the frame and ensuring it's level and aligned with your previously measured dimensions. Use a spirit level to verify that the frame is plumb and square, making all necessary adjustments prior to securing it in place. Double-check all measurements and fastenings, as inaccuracies at this stage can lead to difficulties when fitting the glass doors. A well-set frame contributes to the structural integrity and operation of the shower doors.
Installing the glass panels is a critical stage that necessitates careful attention to detail. Begin by carefully positioning the panels within the frame, maintaining a secure hold to prevent mishaps. Ensure the alignment of the panels, verifying that they are level and flush with adjacent components. Follow the manufacturer's instructions for securing the panels in place, using the provided fasteners and seals. This step requires patience and precision, as improper placement can affect the functionality and safety of the doors. Successful panel installation culminates in a robust and visually appealing shower glass door.
By following these comprehensive steps, you can ensure a smooth and successful shower glass door installation. Understanding each phase of preparation and installation can help you achieve a stunning and functional addition to your bathroom. For more information about the services that we offer, reach out to our incredible team at Palmetto Specialties today!